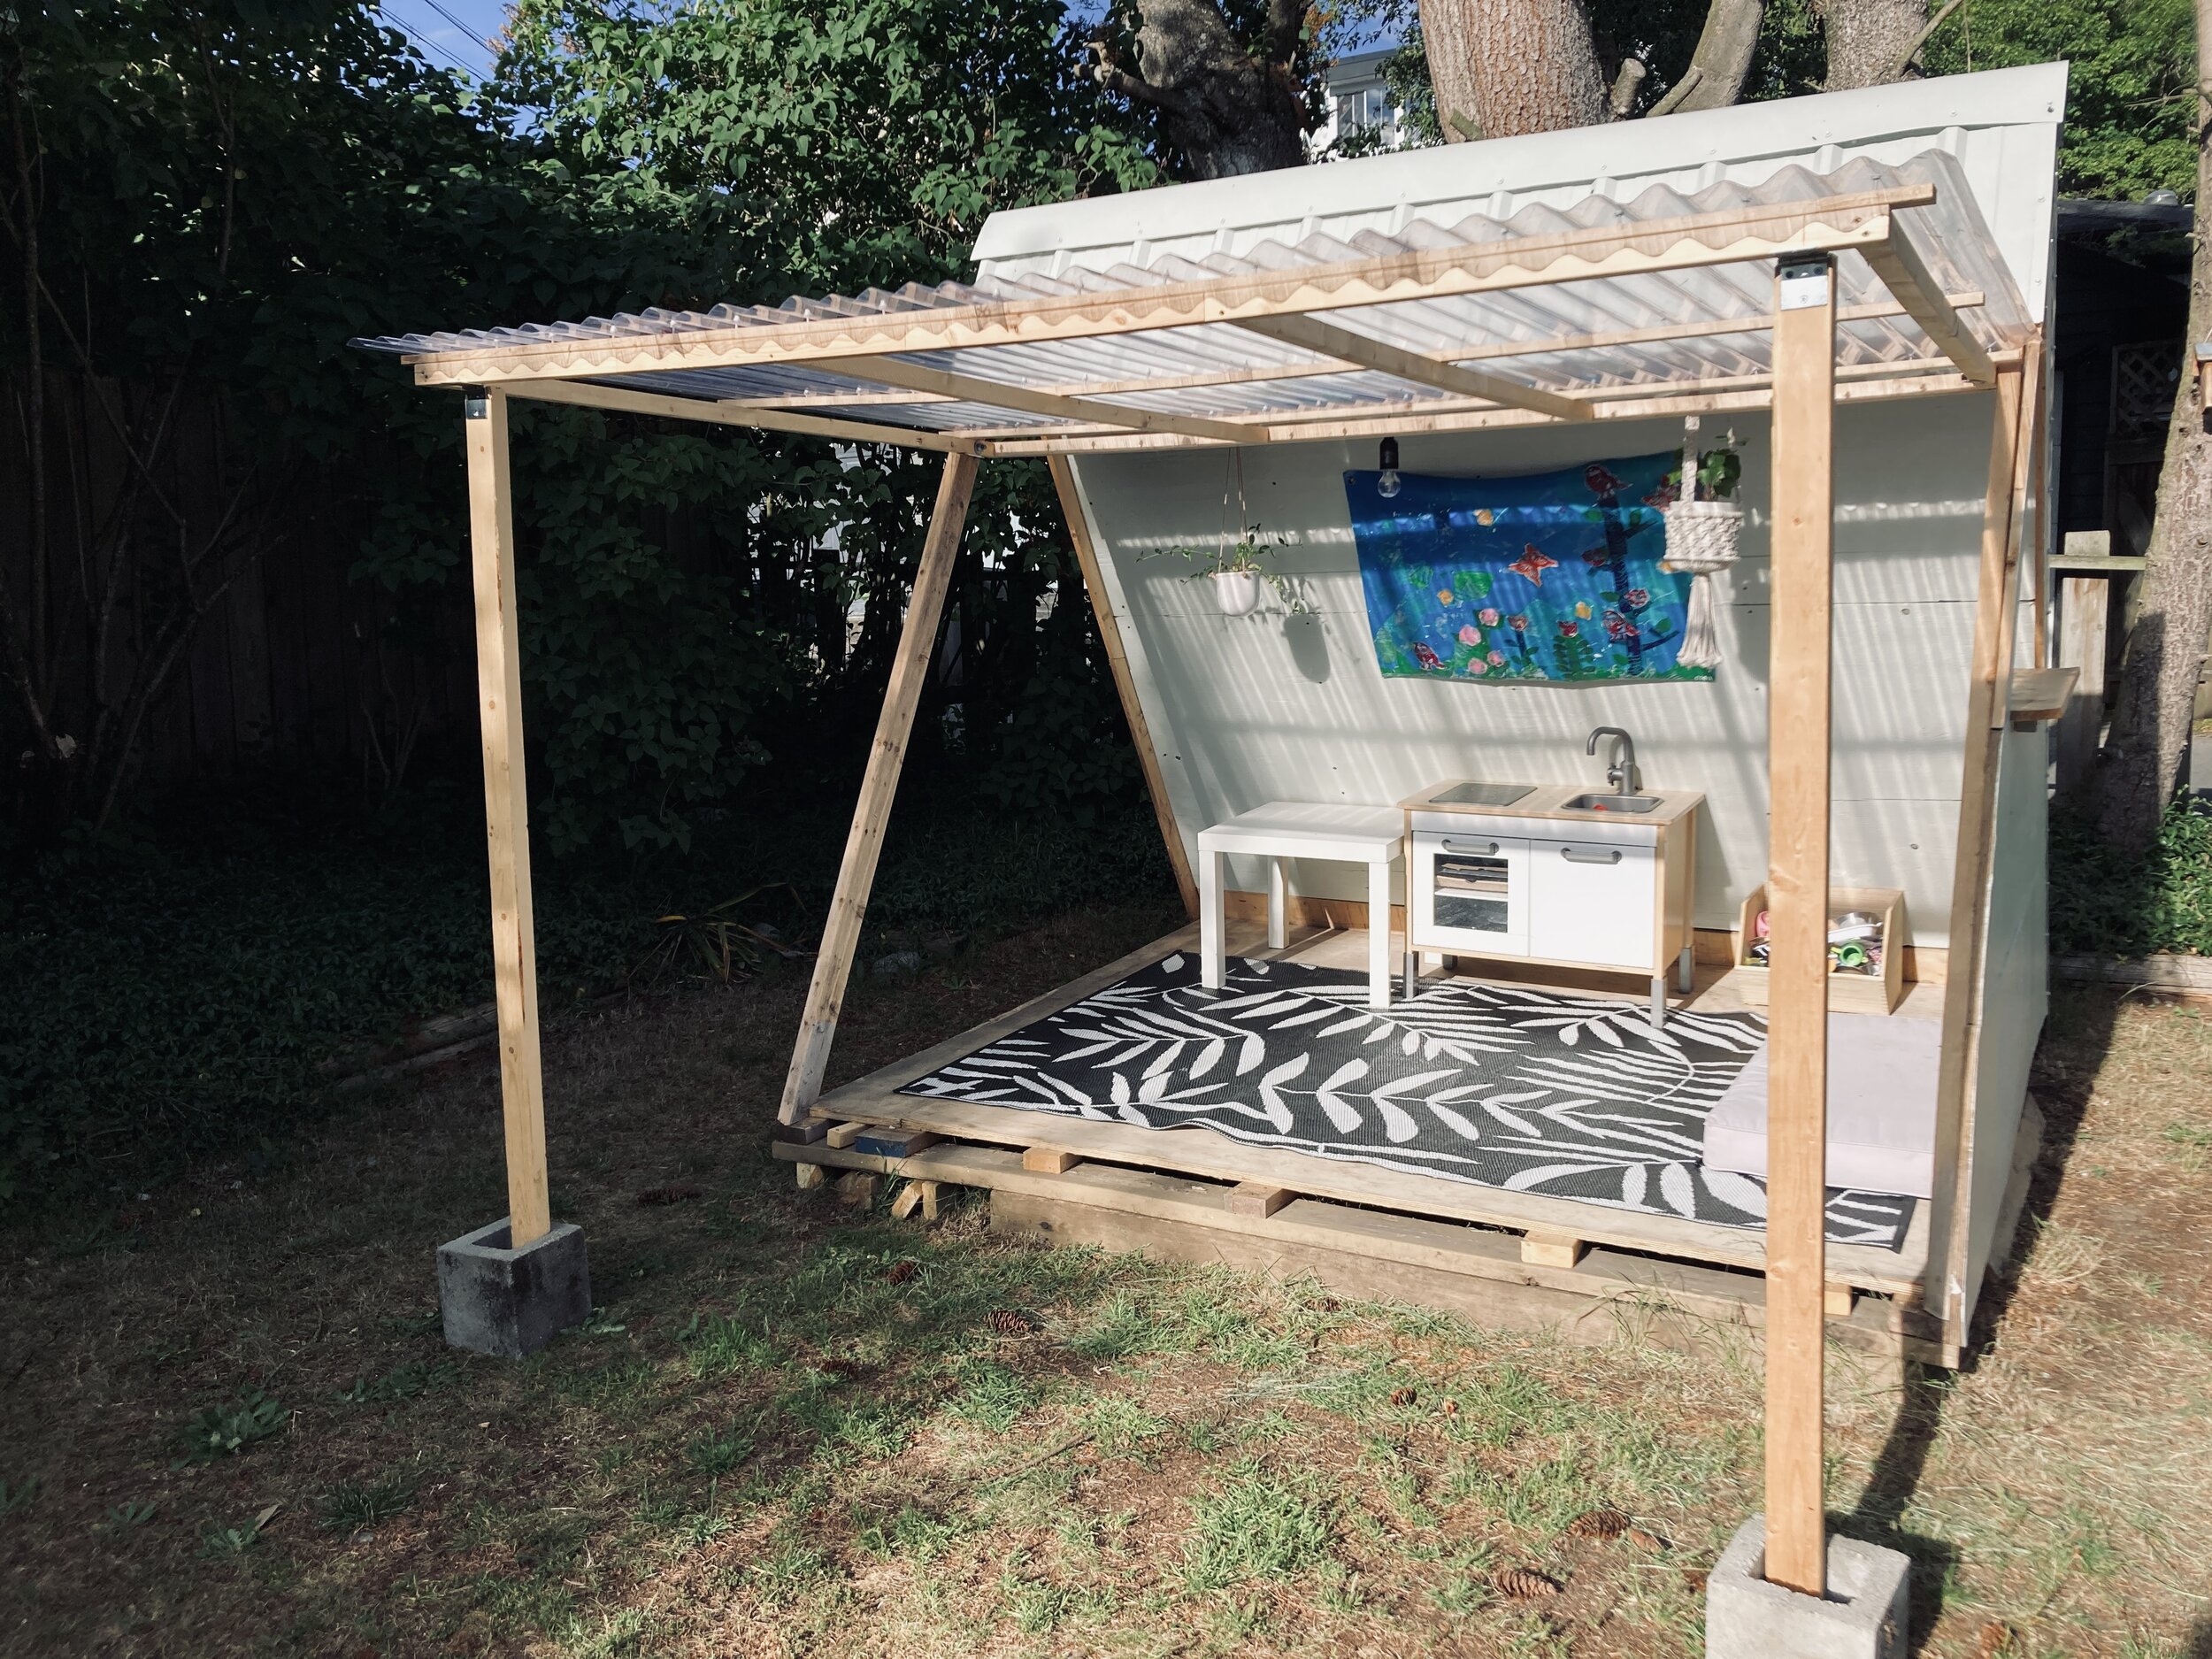
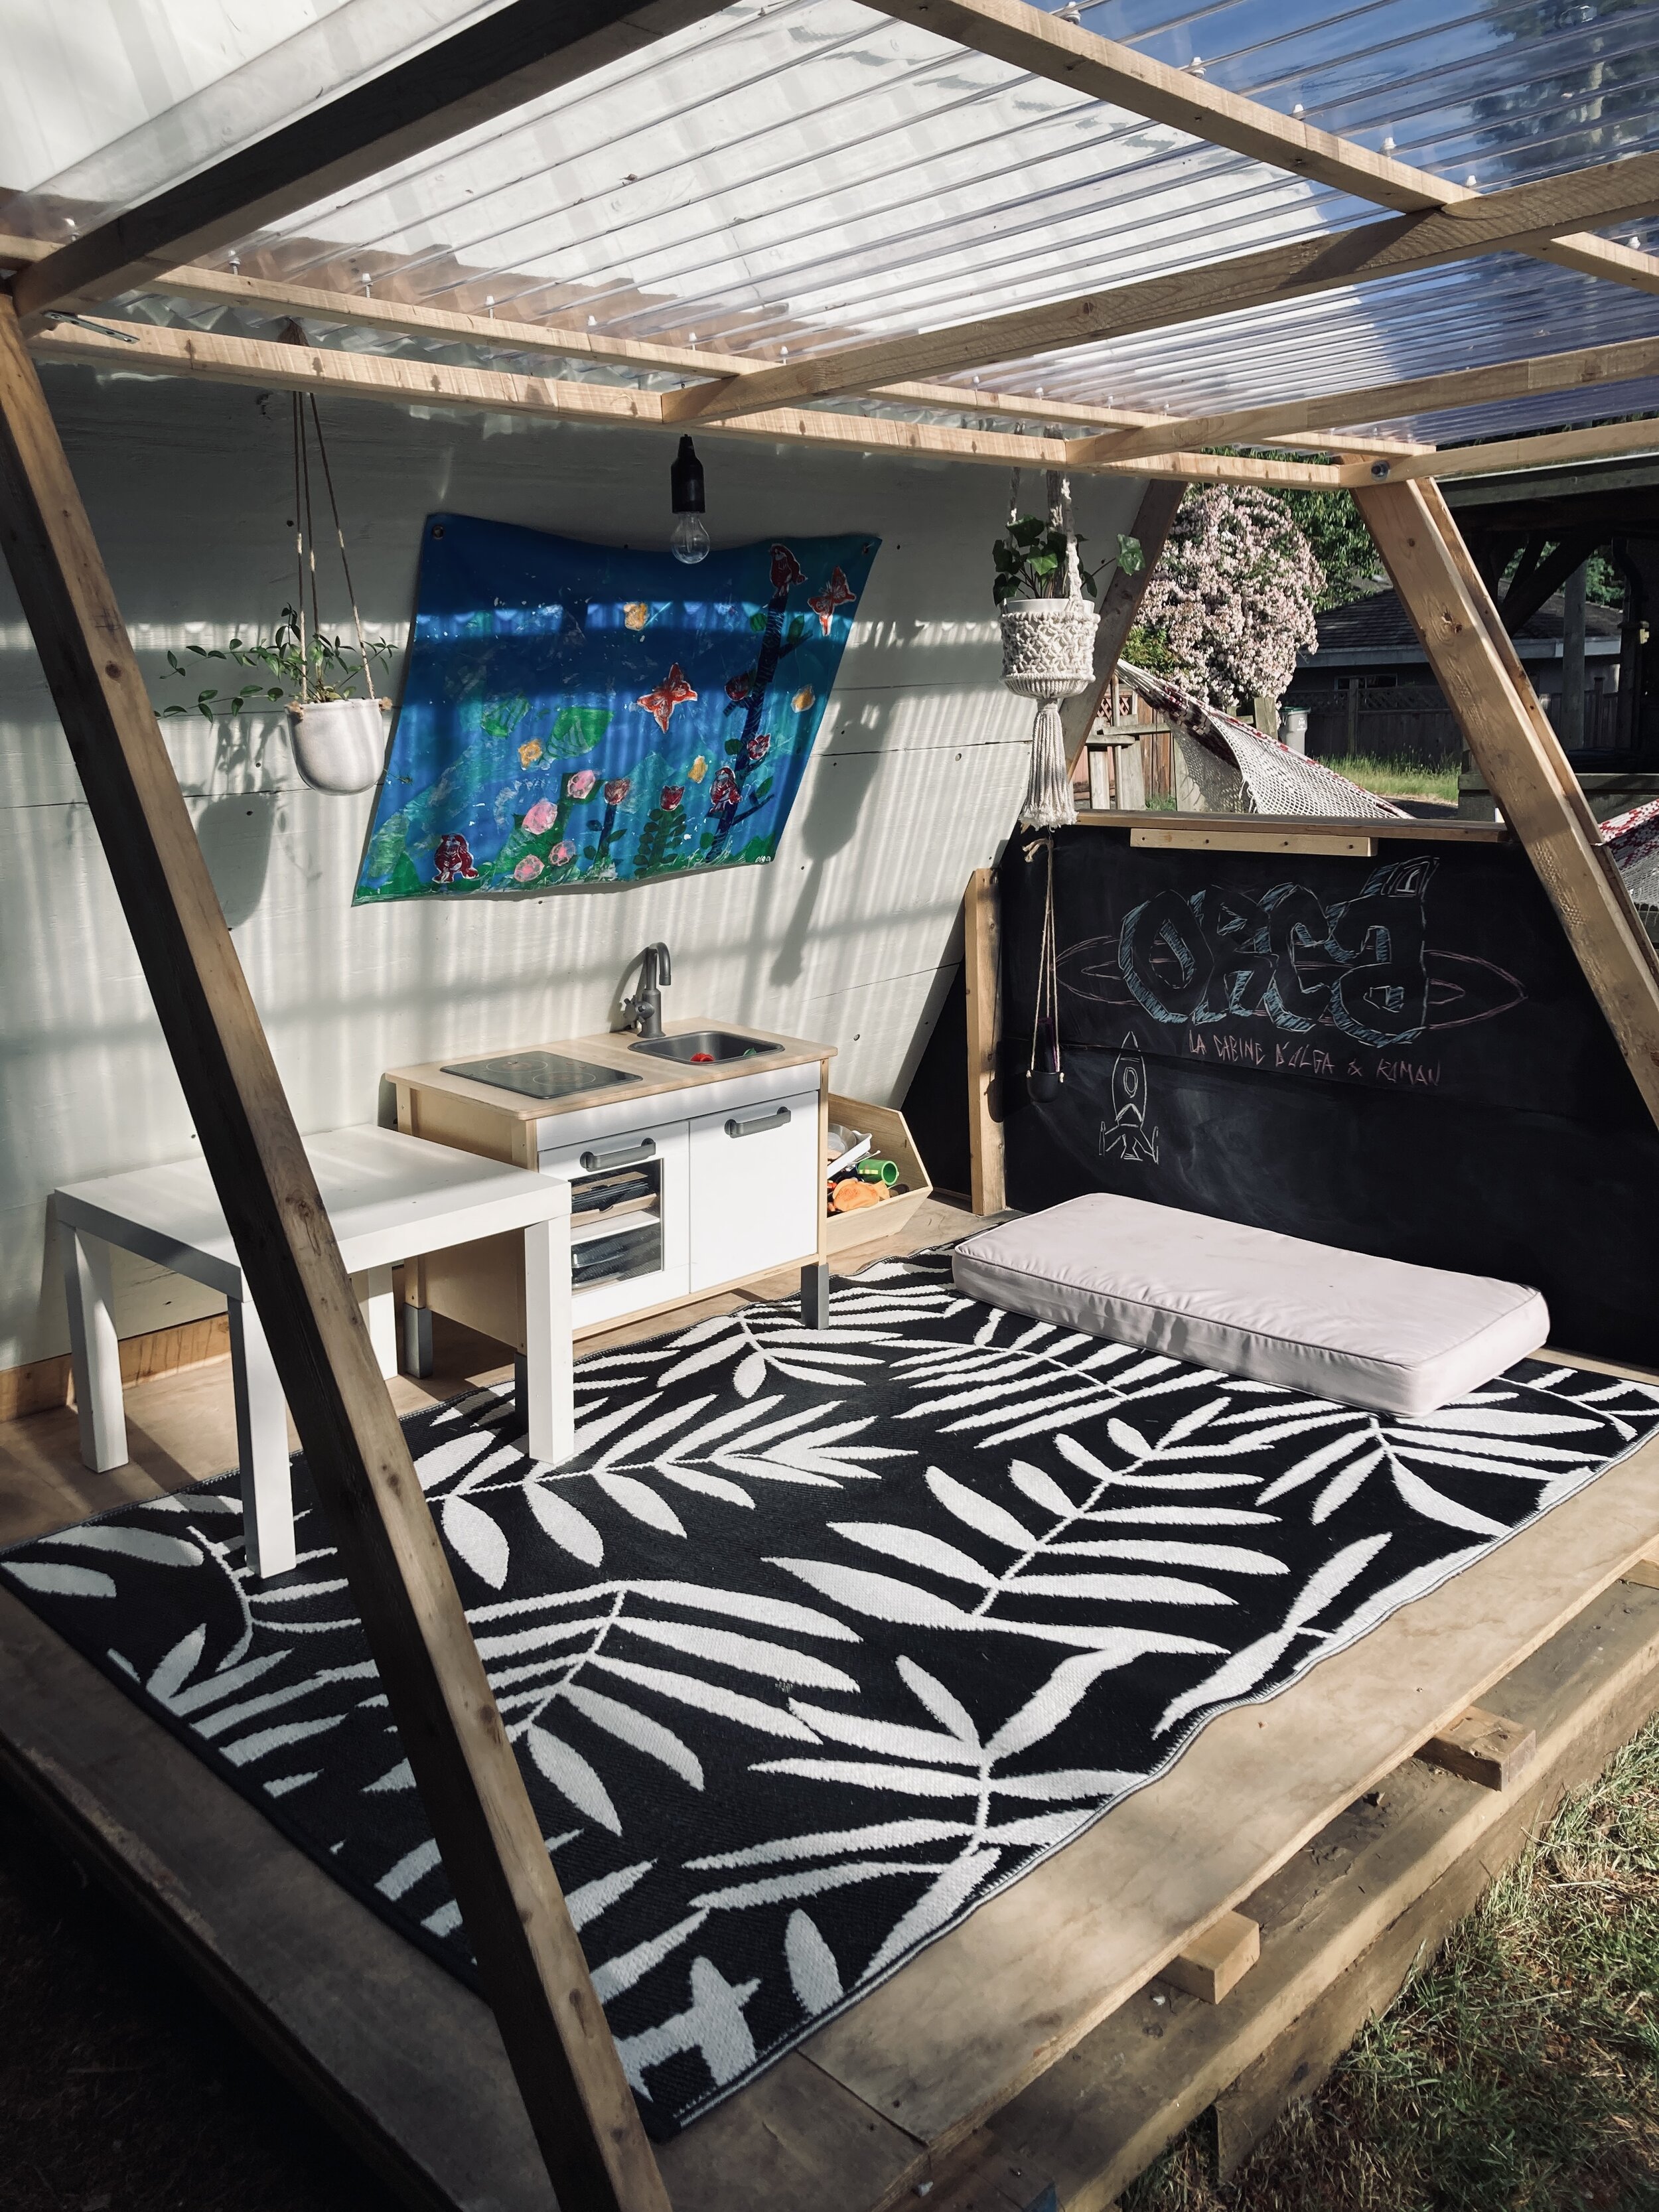
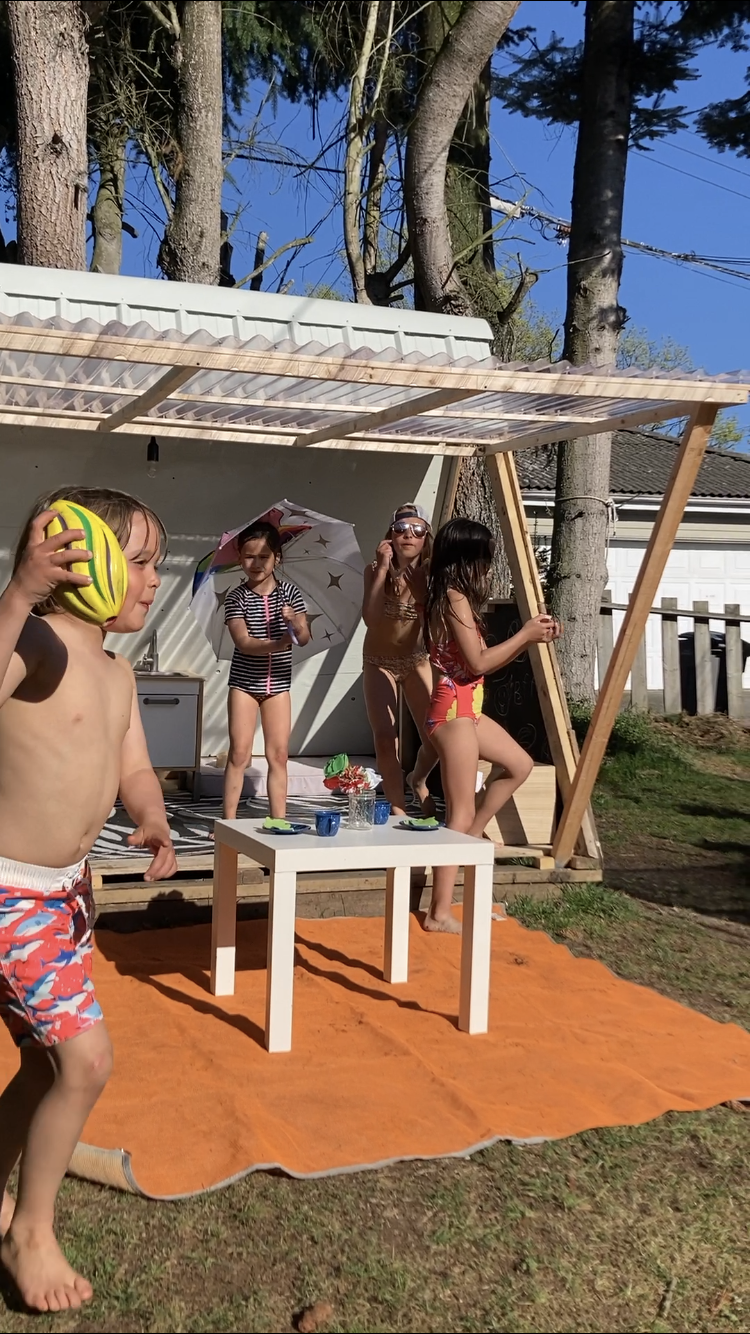
We built an A-Frame playhouse in our Backyard!
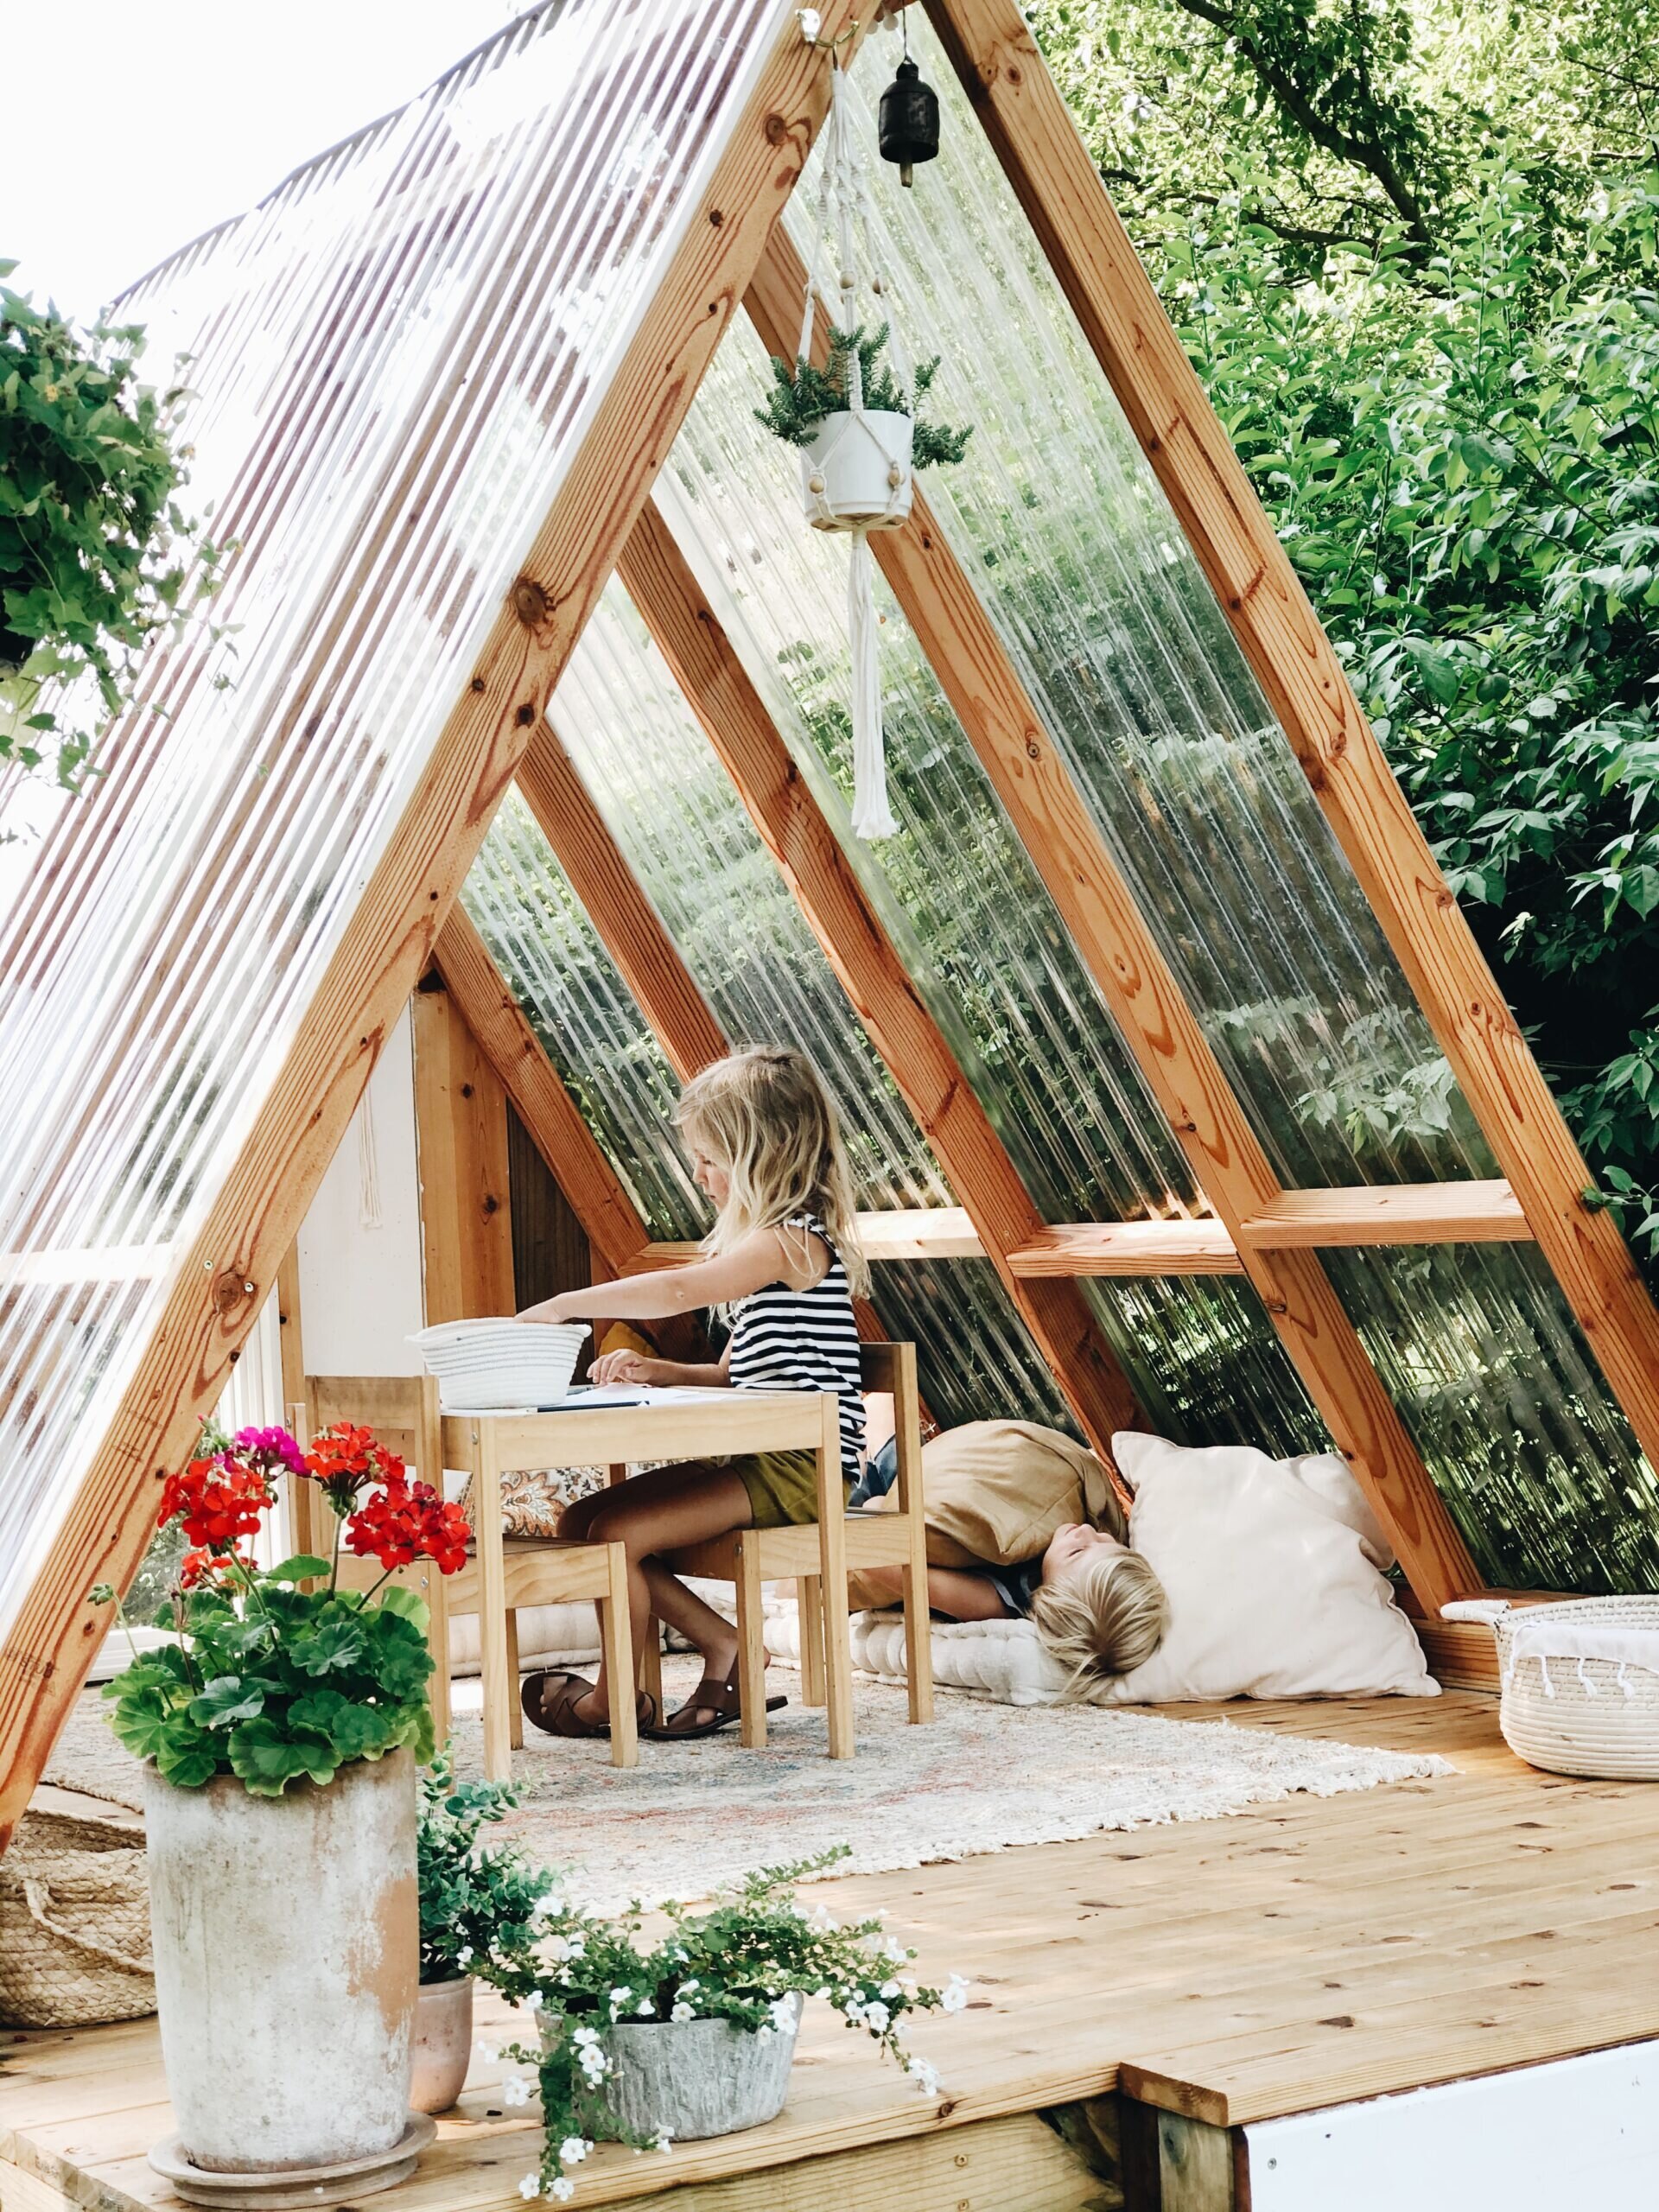
It’s been a while in the making but it’s finally done! This mini A-frame cabin we built is ready to hang around in and we’re SO excited to share with you how we built it. You can use it as a playhouse, an outdoor lounge space, or even a little dinning area! There’s so much you can do, let your imagination run wild.
We started this project the summer of Covid19 as all our travel plans got canceled and we needed a “project”. We built a frame, and got leftover plywood from a friend to build the floors. After that, I looked at different options for cover it, and got the cheapest possible one : painter’s tarp canvas!
It was perfect for one summer, then obviously rain came, so we had to think about an upgrade…
So in the Spring of 2021, we decide it was time to tackle the roof!
We looked at different designs and were very inspired by Maeva @Juneandjane_maevaand and Sandra @Jesussauvage, two amazingly creative french bloggers I follow and admire.
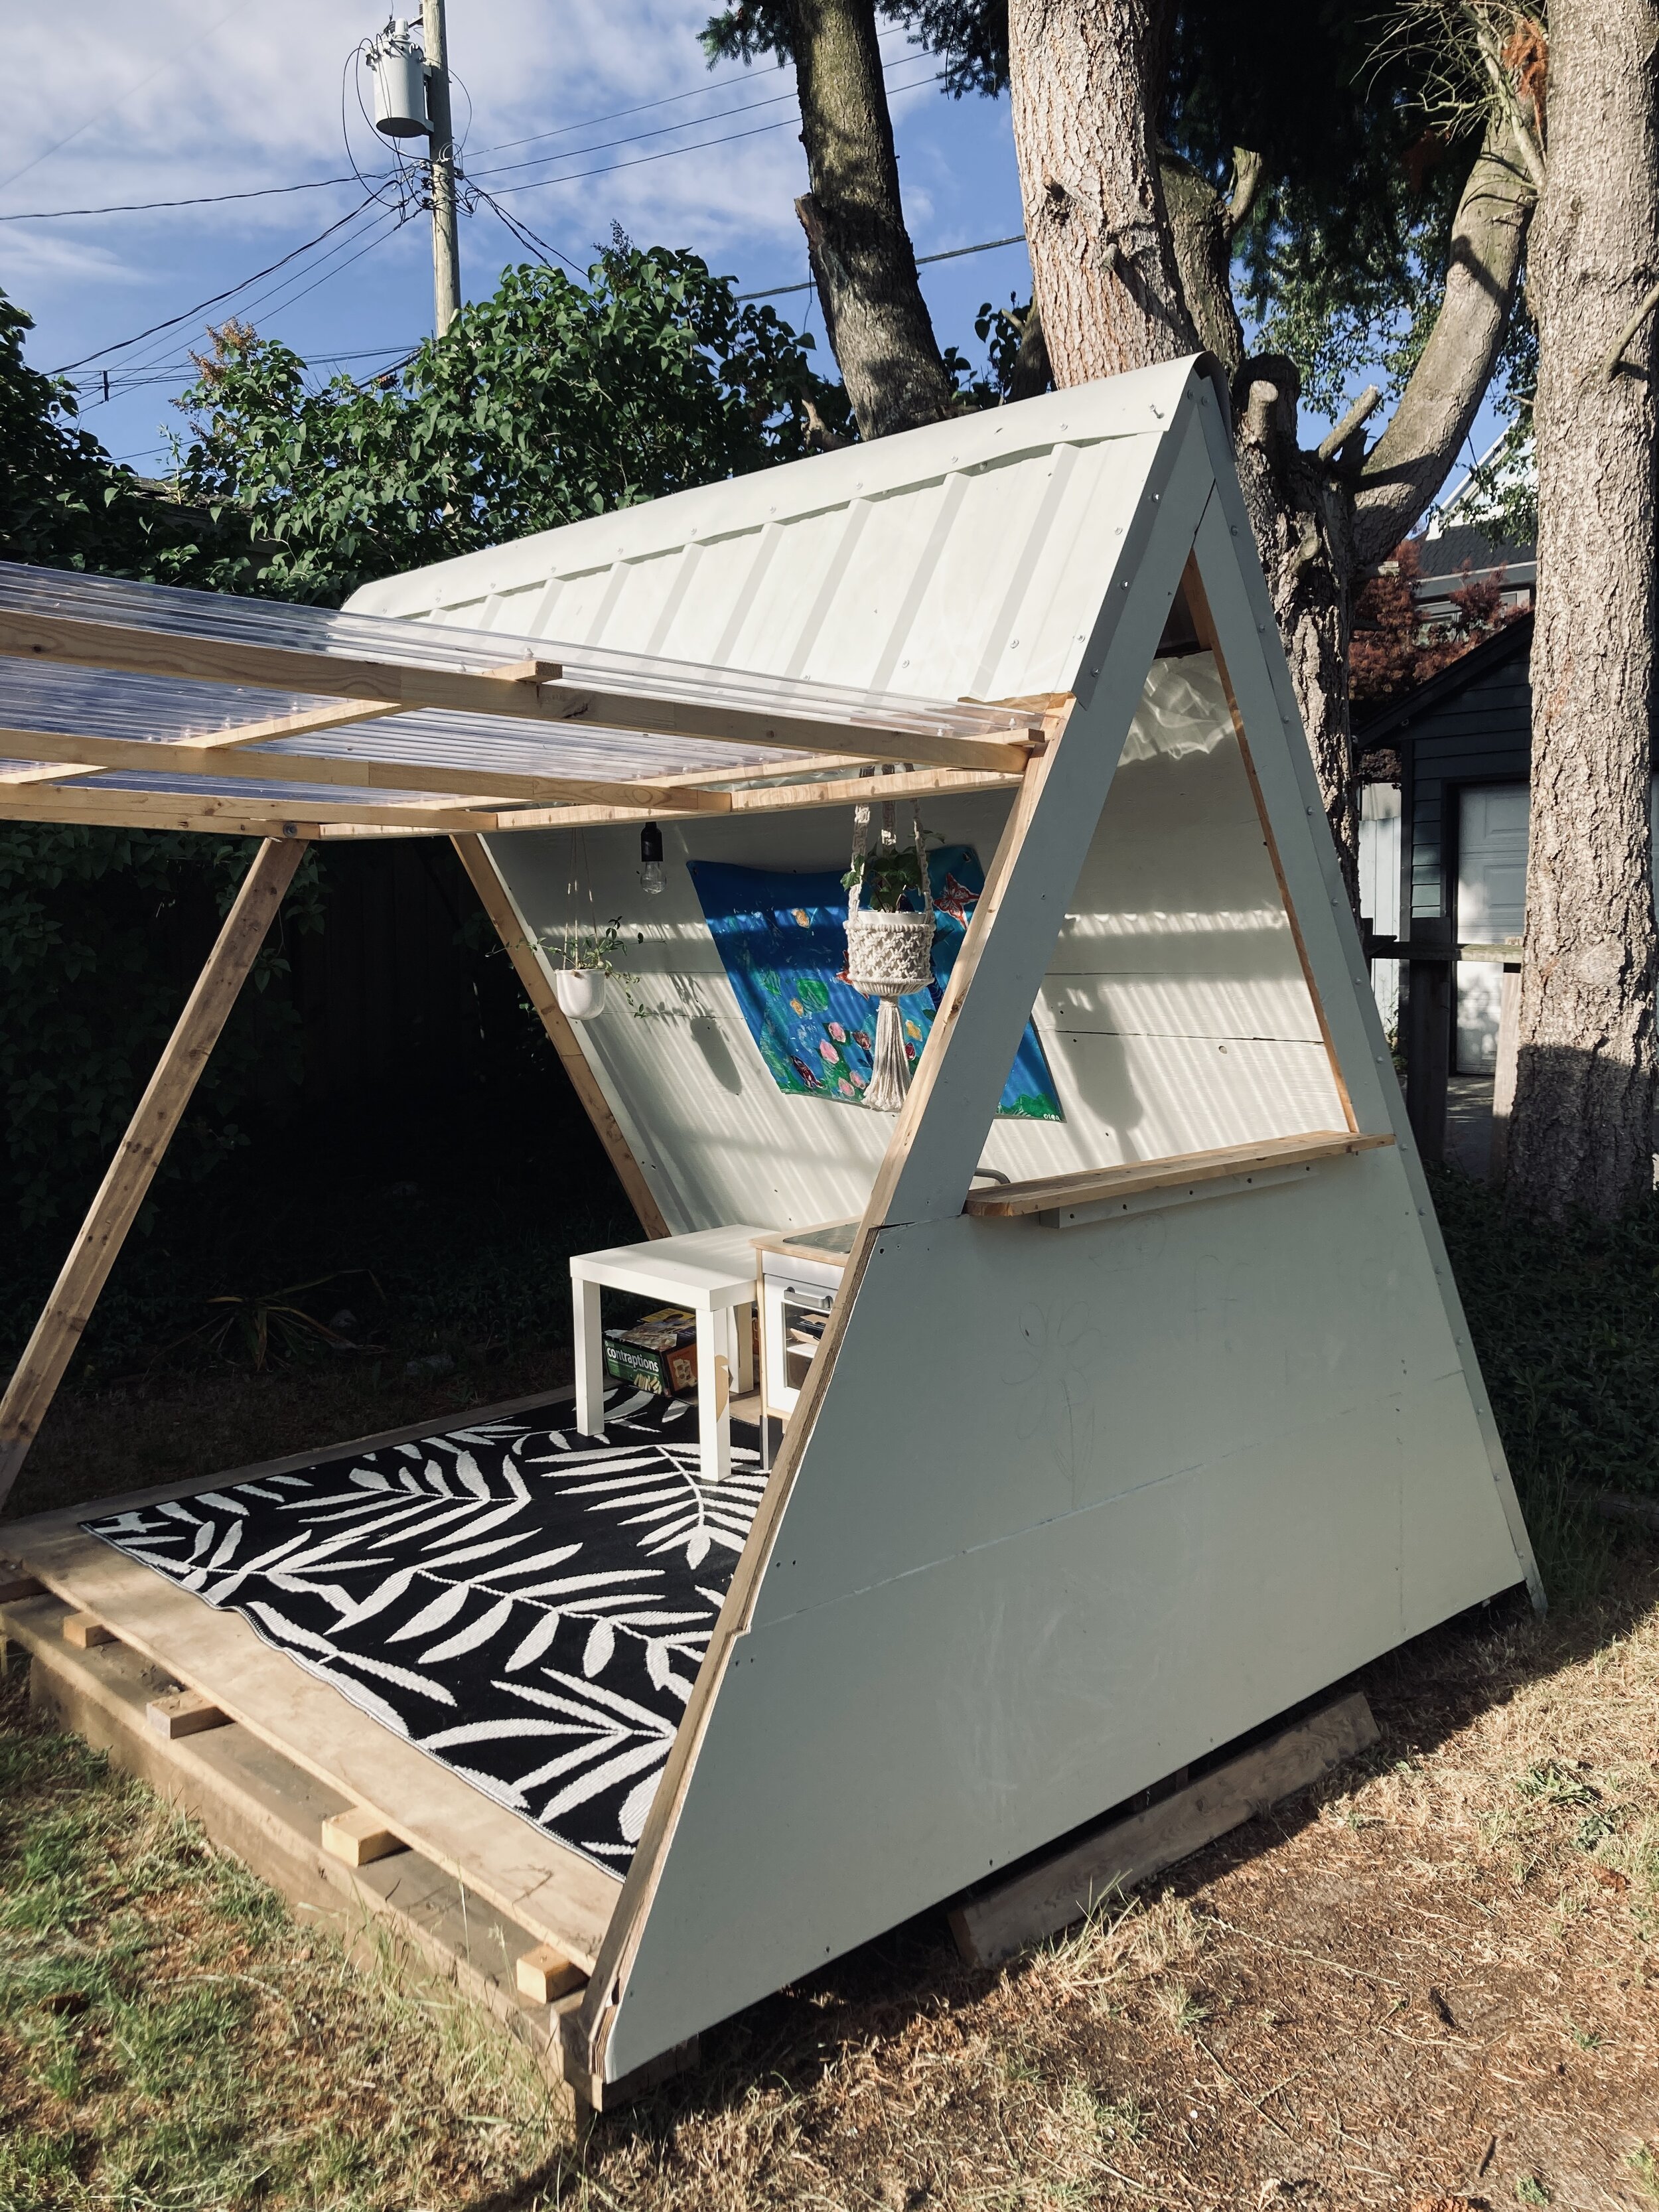
An A-frame house is a building style where the roof is steeply angled, usually starting at the foundation. In our case, we wanted one side to be able to open up to make even more space.
Maeva’s A frame from @juneandjane_maeva
Sandra’s A frame from @Jesussauvage
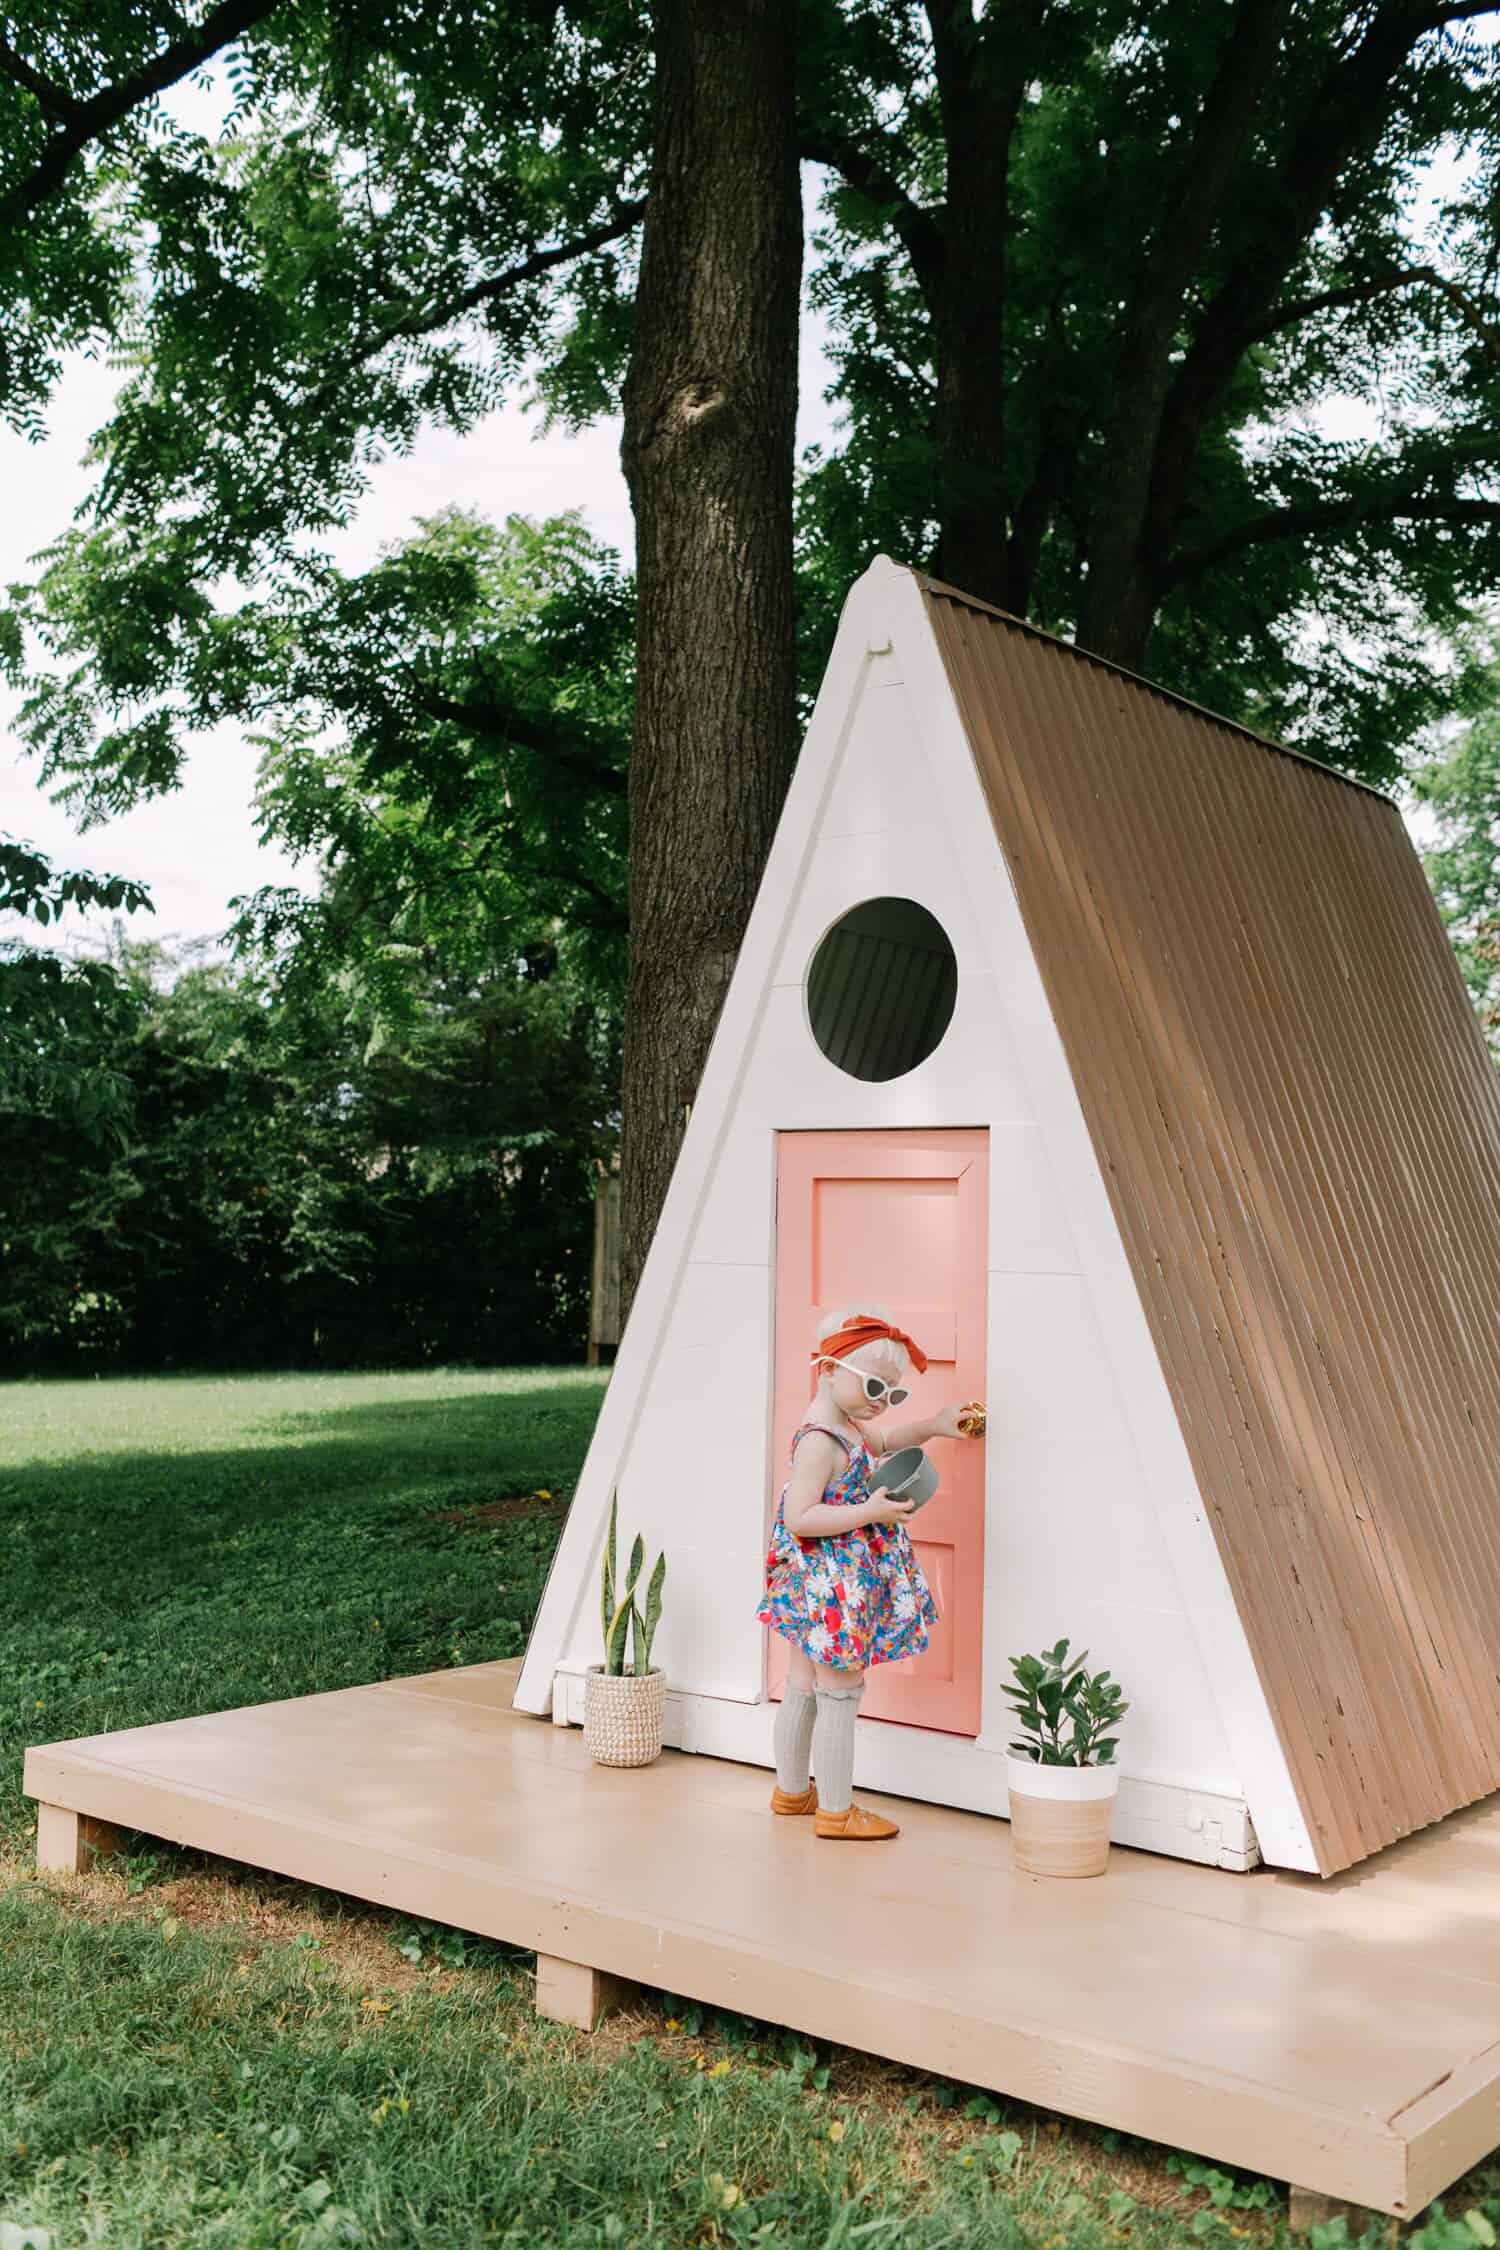
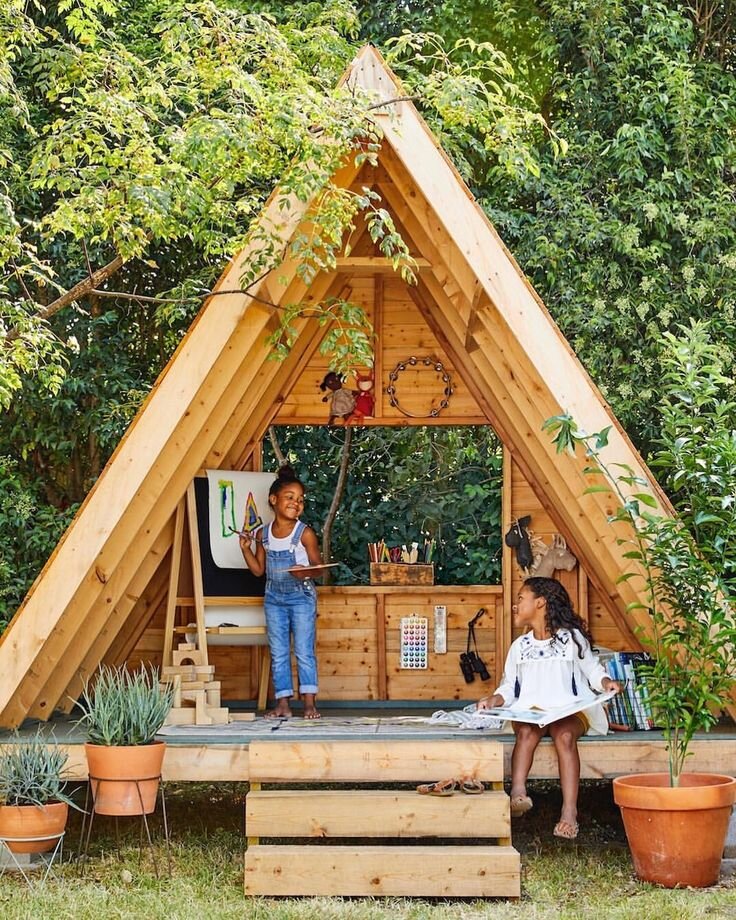
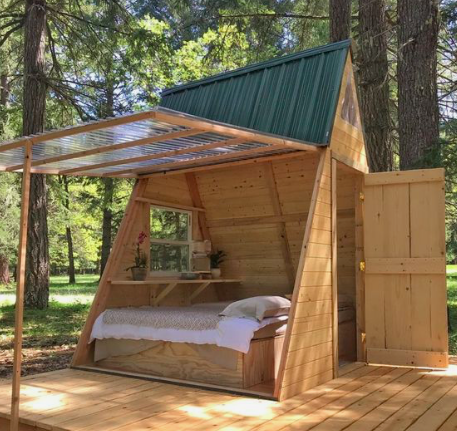
More inspiration
We took a lot of inspiration from other cabins we saw on Pinterest as well. Here are a few of our favourites to inspire you too! Click on the images for more information.
How we built it
Honestly, it wasn’t a smooth process, as we had to unbuilt part of the frame. It took a lot of trial and error, and a few helpers! But we manage to come up with a design we liked, that wasn’t too crazy expensive, and that works well beyond what we hoped!
Materials we used:
2”x4” pine studs
2”x2” pine studs
plywood sheets from leftover projects or construction sites
corrugated metal sheets
corrugated plastic sheets
outdoor screws
roofing screws
black chalkboard spray paint
exterior light gray paint
Here is the crew at work!
Here is is all finished! We might add a door eventually, as it’s always a work in progress:) We have kept it a low budget project and decided not to buy new things to furnish or decorate it, and instead tried our best to repurpose as many things as possible that we already had. These include an outdoor rug, an LED light from Canadian Tire, an Ikea kitchen and toys so the kids can play “restaurant”, an Ikea Lack table, a few hanging planters and an outdoor cushion. As we thrift a lot, we may add more treasures! We are also thinking it would be fun for the kids to paint something inside, maybe a rainbow?
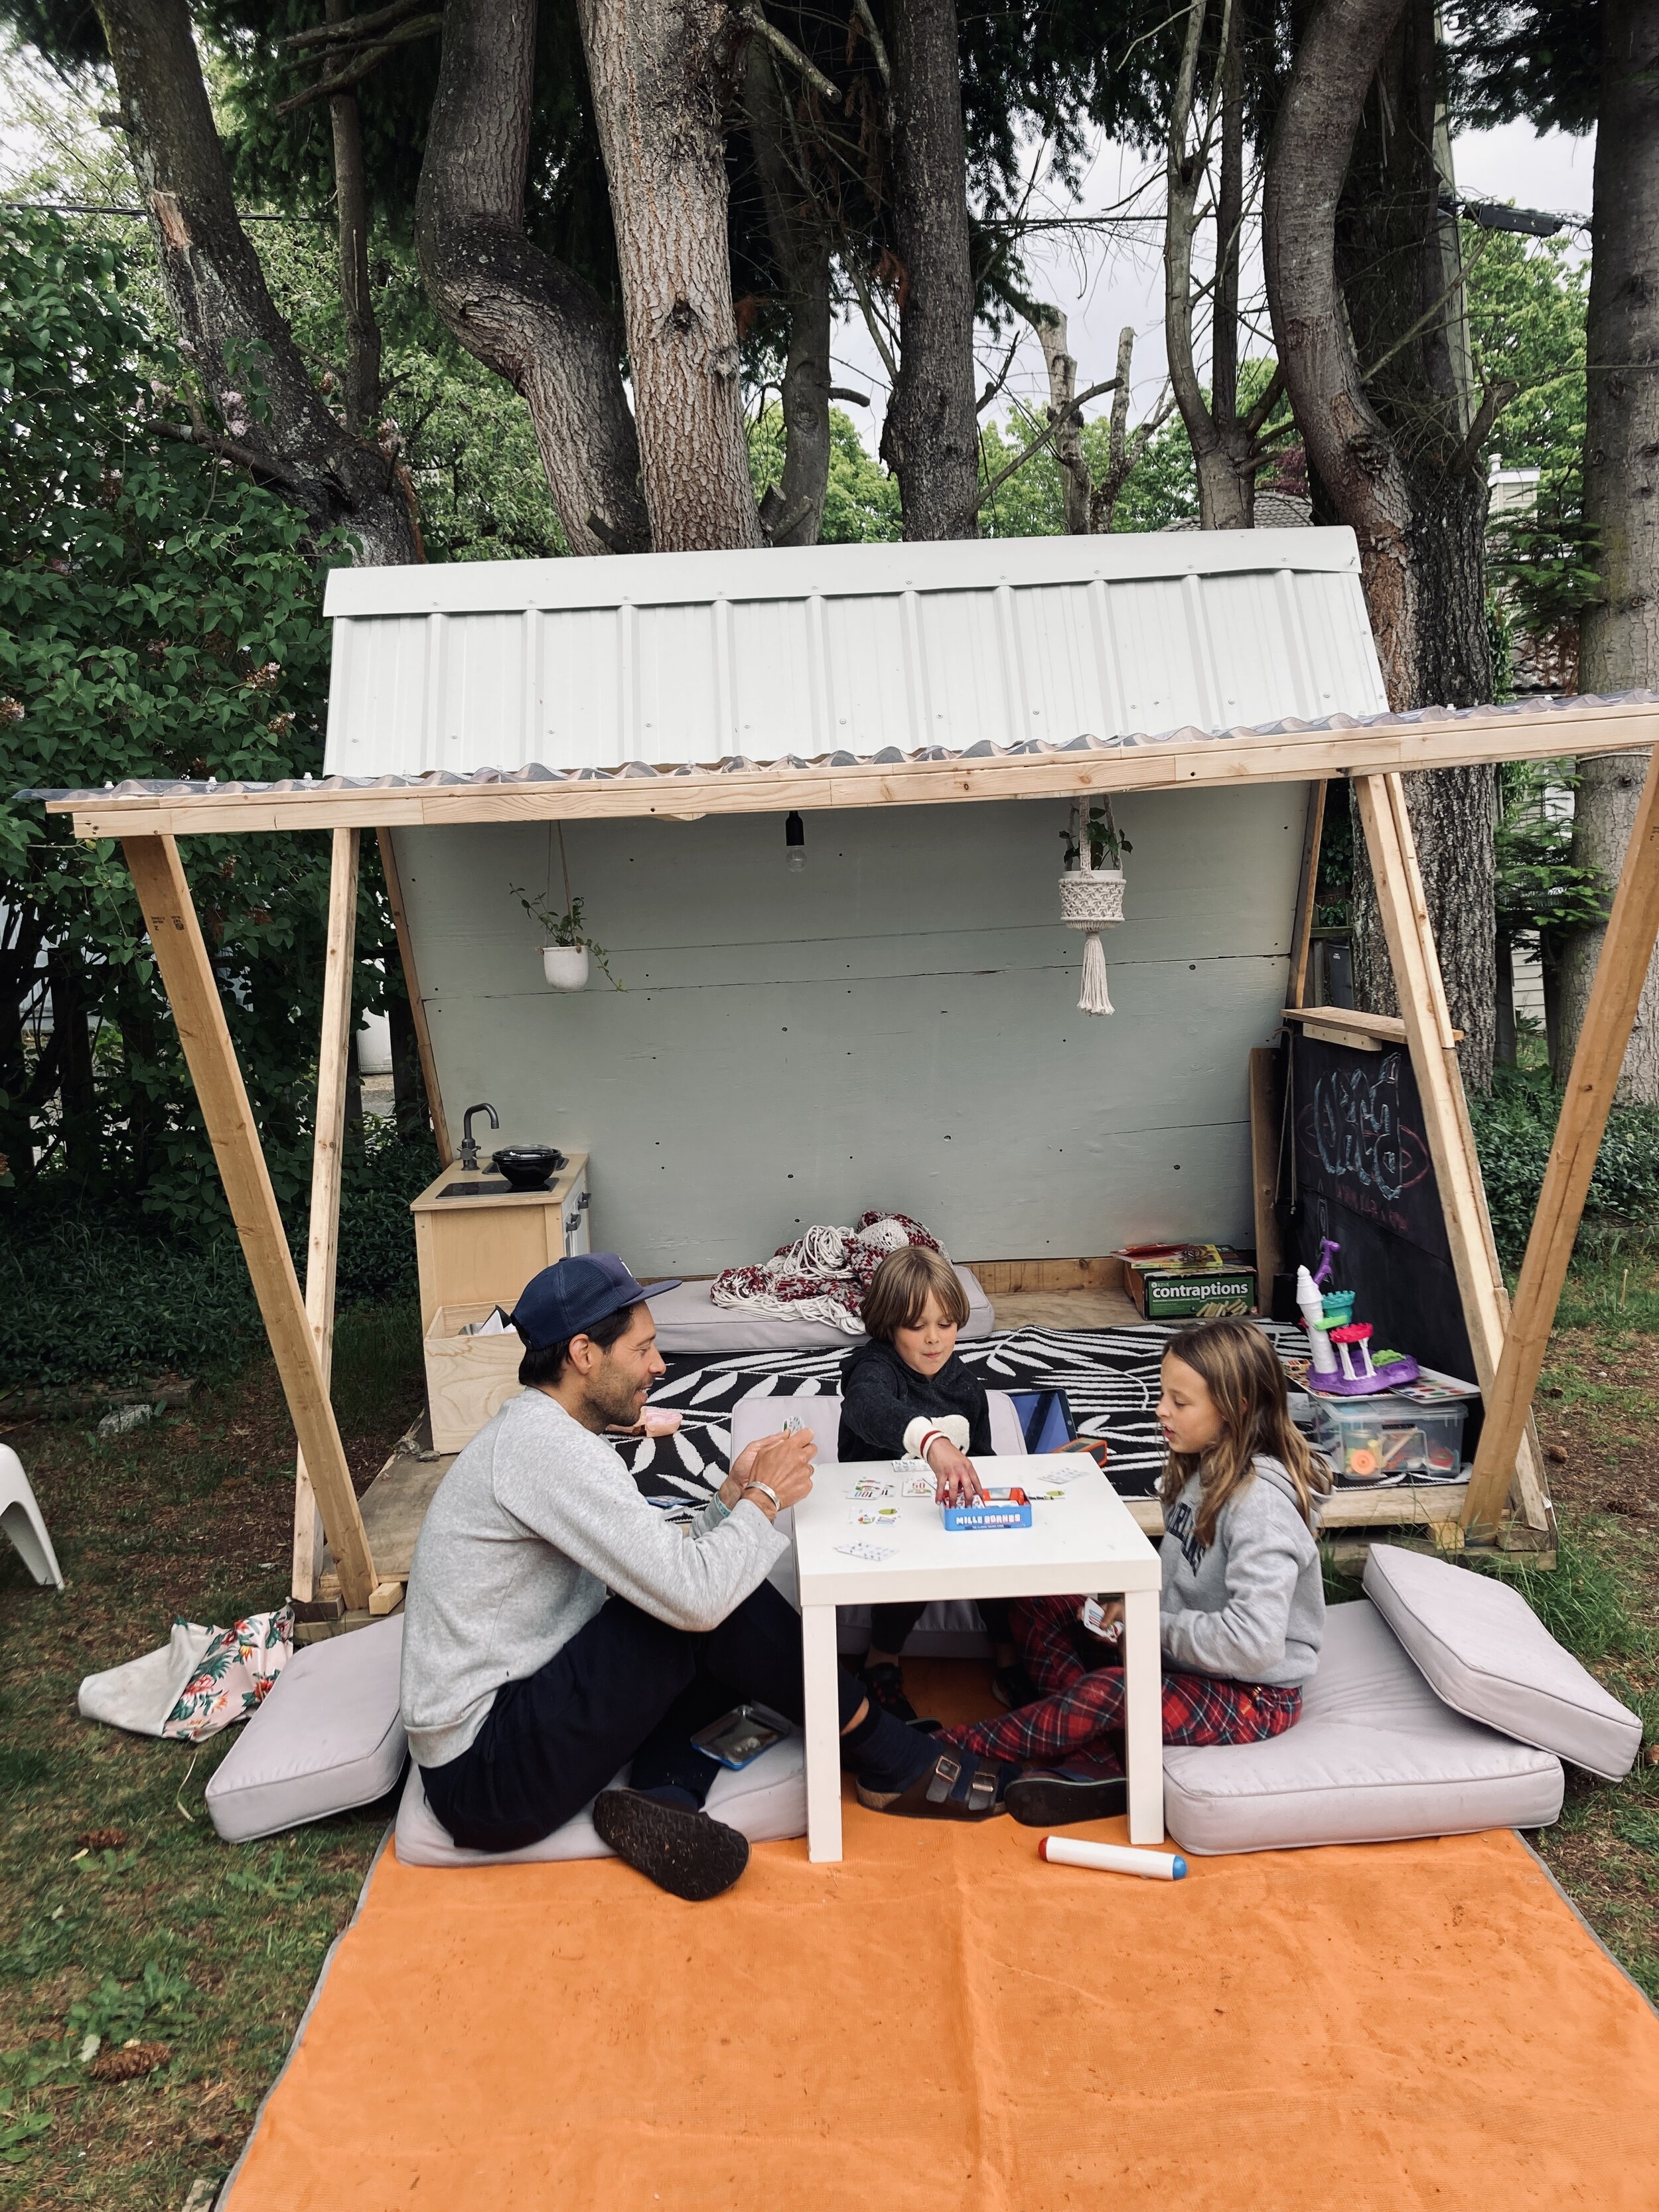
We love our backyard playhouse and the kids have recently been able to celebrate their birthdays and invite a few friends to play in it. What a fun project to build, honestly our kids are so lucky! I would’ve love this as a kid:) What about you?
If you have any questions, please ask them in the comments! We will be happy to answer them!


